Success.
Definitely very convoluted. (These Koreans are nuts!)
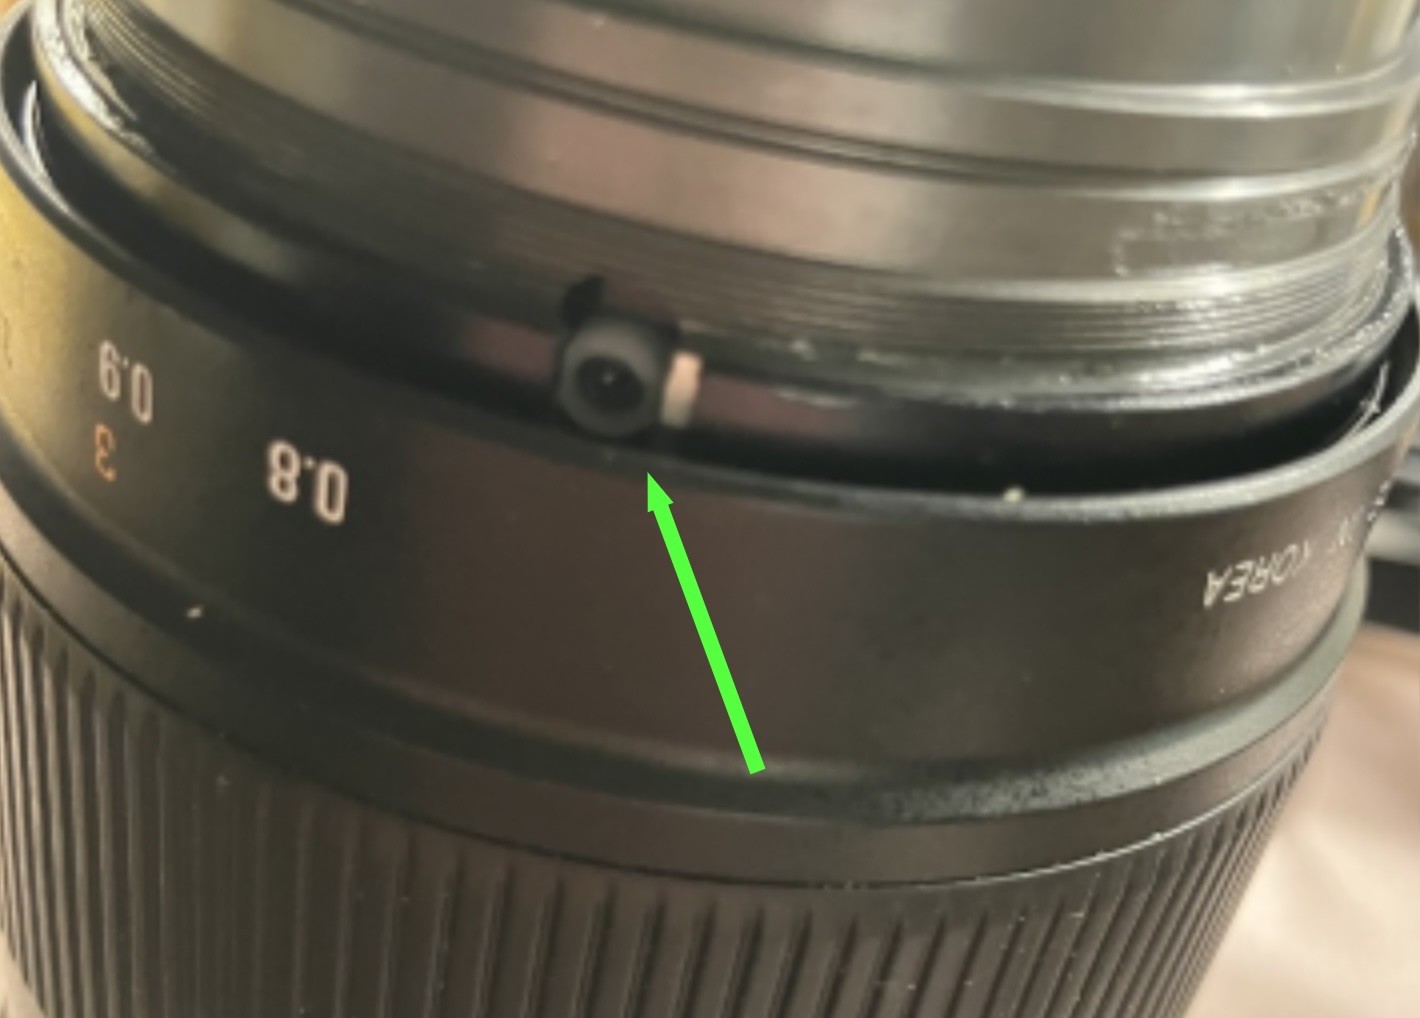
As you turn the focusing ring, at a certain angle three slots underneath the ring expose small Phillips screws that are held in nylon sleeves. You can only see and remove them at just the right angle (+/- perhaps a couple of degrees) of the focuser ring, and the clearance is very tight -- I had to use tweezers to wedge the nylon (white in above photo) out.

After the three screws are removed, the iris assembly is loose .... but it won't come out the back!
I had to remove the front lens assembly, which is not static, but moves a little with the helical focuser. Ahhh, Neewer lens spanner is getting me my money's worth -- it is especially nice with the drivers at 90º from the "protector"; you can apply a lot of force, and yet be perfectly safe.
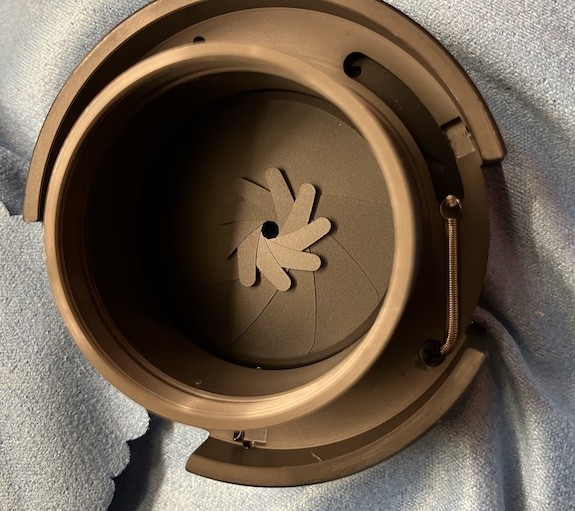
The iris assembly from the back:

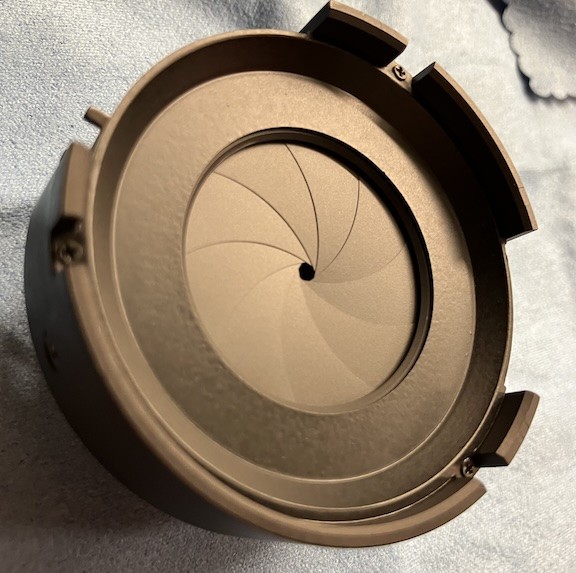
Taa daa... iris assembly from the front (bet you have not seen this):

Notice the circular aperture stop for f/2.0. That gives us an idea of the diameter for f/2 at that position.
First thing that hits me... notice there is so much depth space in that photo. That means I can easily fabricate a smaller circular aperture (web machine shop + one Tiffen filter retainer ring) and glue it to the front surface of the iris assembly.
I won't even have to remove the iris. When everything is put back, the aperture control can just be set to f/2. But the opening will be not be f/2, but whatever the new aperture hole size is. And, smaller apertures can still be selected.
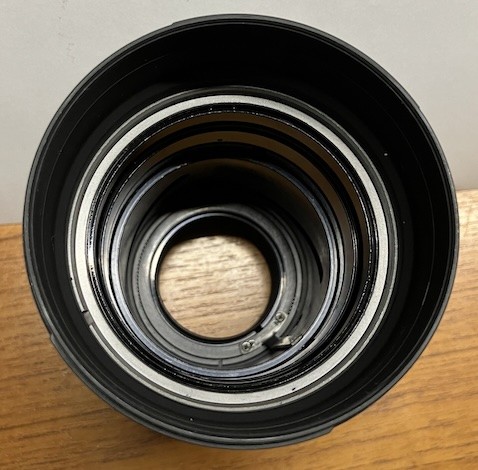
At this point, the lens body is now just a hollow lightweight plastic shell with nothing but the helical focuser's mechanism:

I will probably shoot for between 1.0 and 1.5 f-stops from wide open, i.e.,between f/2.8 and f/3.3. It looks like the web machine shop is going to get more business from me. It is just going to be an annulus with perhaps a 0.5mm deep blind hole that is slightly larger than the inner diameter of the annulus, where the Tiffen retainer ring would be glued to. The outer diameter will be the diameter of the front surface of the iris assembly -- that way, I can center the new aperture stop easily.
At the same time, I might get them to mill something that I can use to hold M54 adapters directly to the back of the lens to remove the dependency on a camera lens flange :-)
OK, done with this saga.
BTW, you might want to buy another Samyang 135, but this time with the EF mount; to do this. The only thing that will close this manual lens is that spring at the back of the iris assembly. And that closure is held back by the manual aperture control.
I have no idea where some of these screw holes are on the Rokinon Cine, so I might just make new base plate for the Samyang and test with the aperture with that lens (more business for the machine shop). The distance between the front Astrodymium ring and the rear ring is different for these two lenses, so I can't just use the Rikonon base plate. But it is just a simple change: the mounting holes of the Astrodymium rings. But this time, I will get them to drill holes to handle both Cine and Photo versions of the lens.
This should get rid of any remaining problem with diffraction problems with a stopped down Samyang 135. What we have today is a frying-pan-and-fire problem. If you use Samyang's original iris, you end up with really ugly 18-pointed spikes everwhere in the frame. But if you use an aperture mask at the entrance pupil, you end up with aperture vignetting (the almond shaped aperture) at the corners of the frame, if the aperture is not small enough (like no more than 3 to 4 f-stops from wide open). By placing a small aperture where the iris is located at, we have neither of these problems, and we get closer to an astrograph instead of a TikTok toy.
Chen